You may see a tire technician use an impact wrench to tighten every lug nut until he hear many clicks. However, not too many people notice that all the lug nut could be over tighten that way, and this is NOT something you should copy when you DIY. Tight is good, but over tighten is NOT. Over tighten can stretch the stud and cause failure around the rotor. Every car has a lug nut torque specification from the manufacturer. The proper way to tighten the wheel is to use a torque wrench to torque every lug nut to its recommended torque when the car is on the floor. Some cars even require more complex procedure which is hand tight first, torque to a specific lower torque while the car is up in the air, then torque to its final torque specification when the car is on the floor.
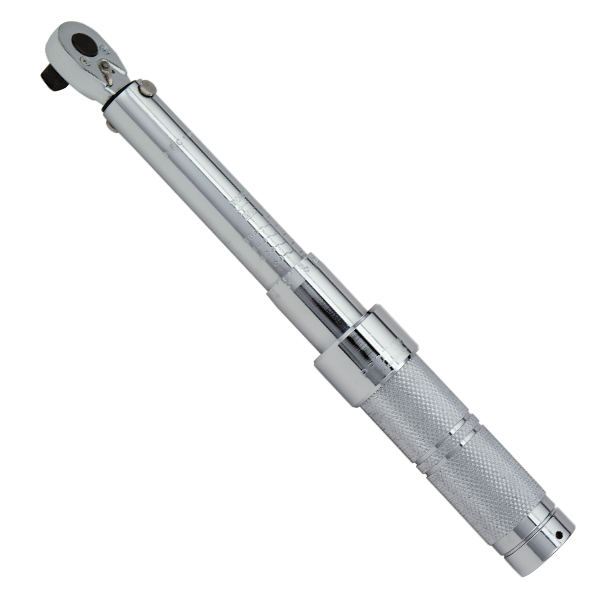
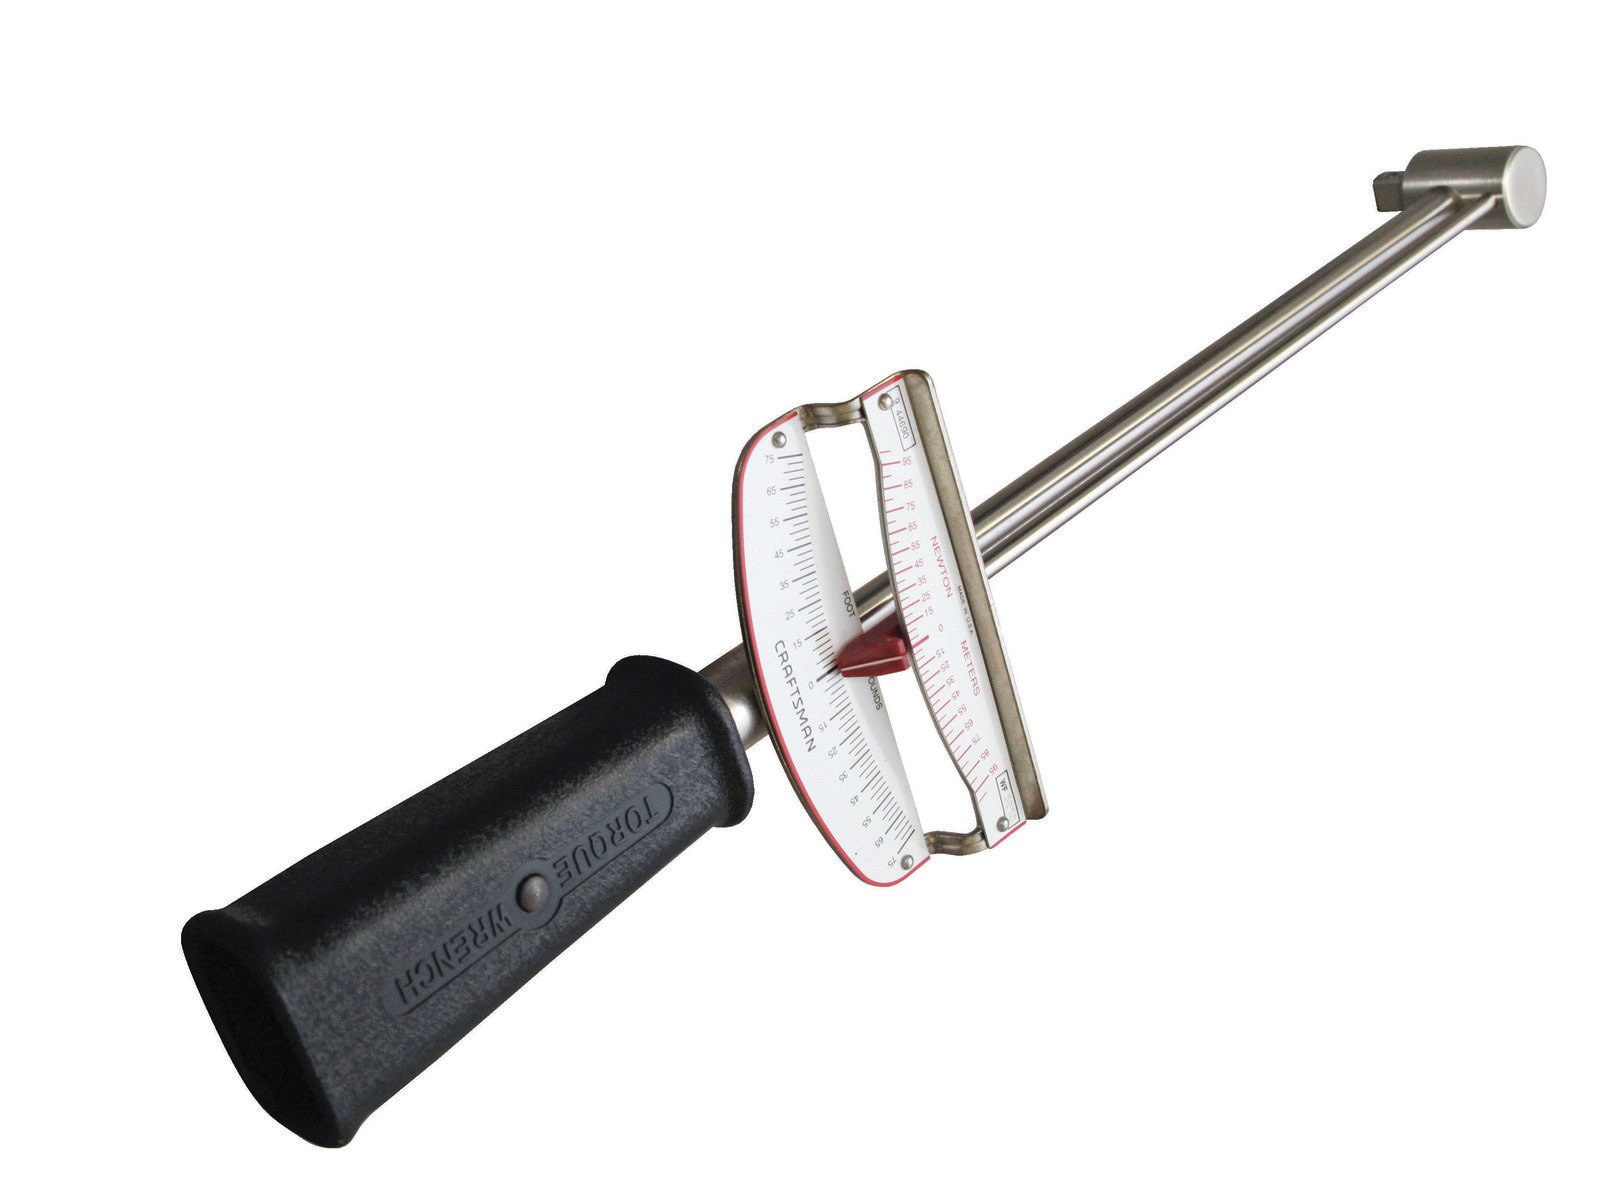
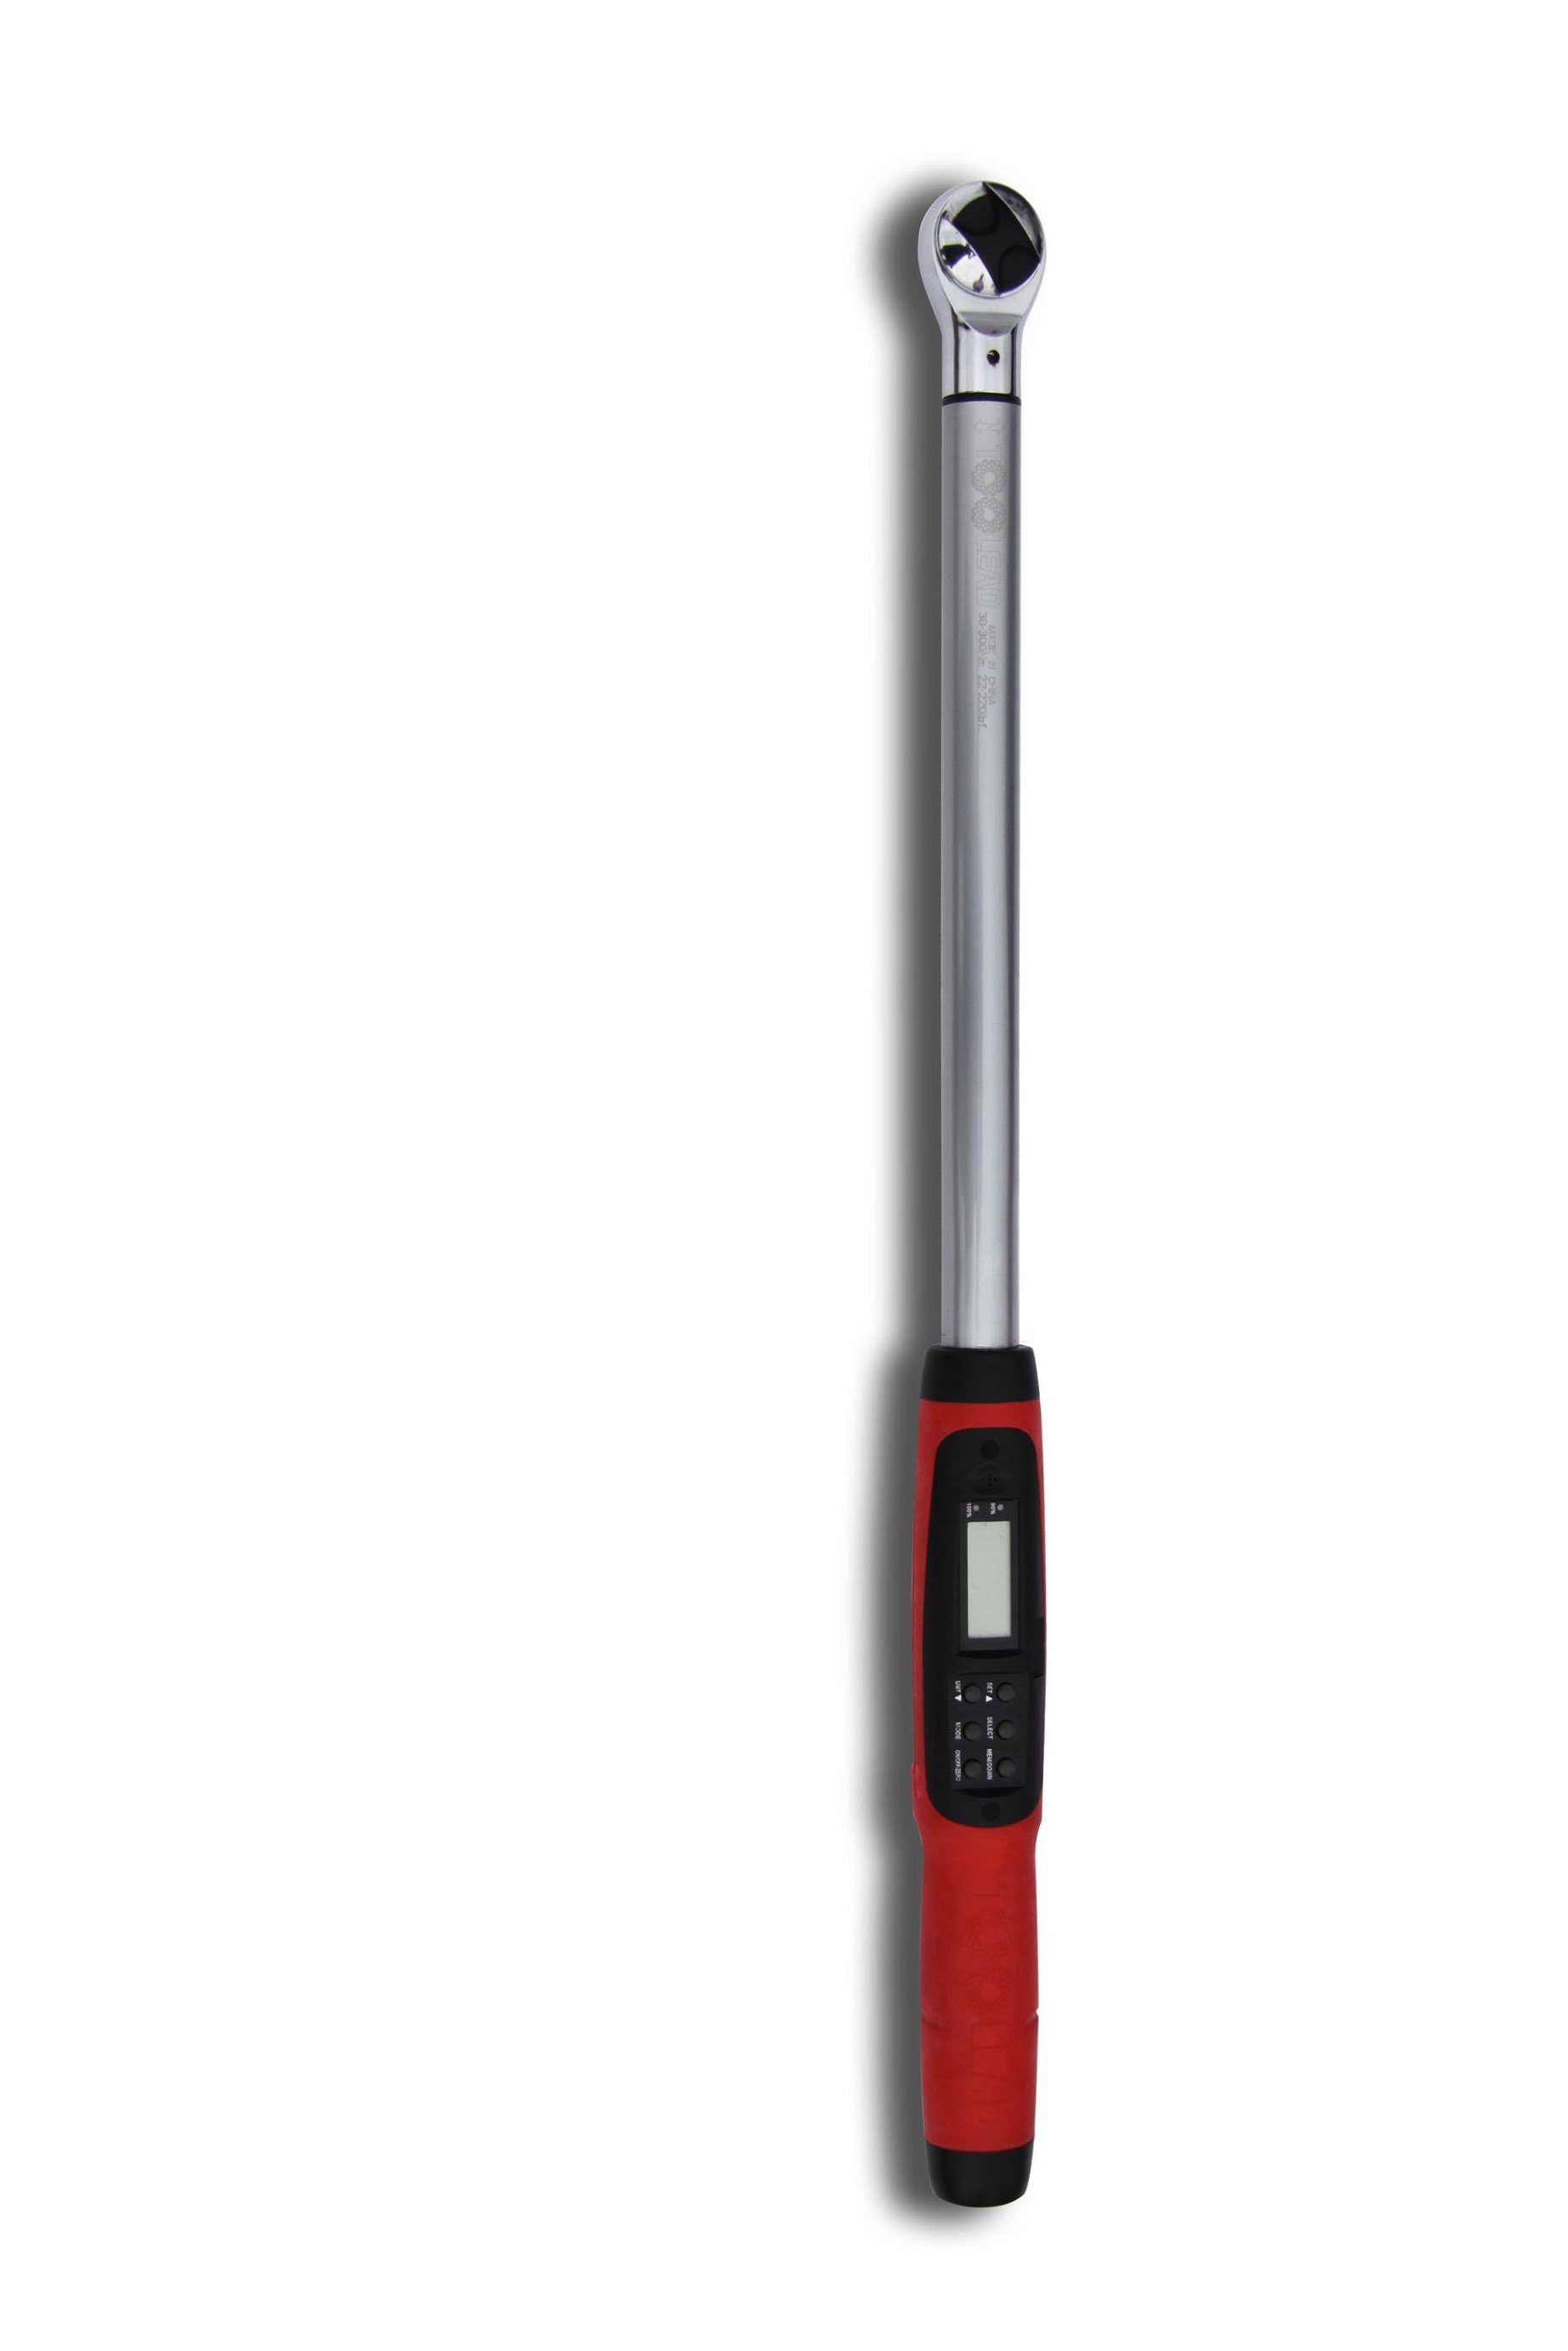
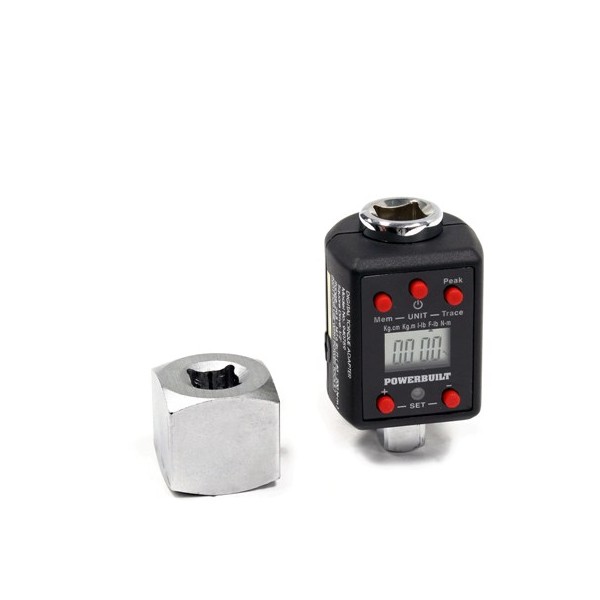
There are a few different types of torque wrenches in the market. The most common type is the CLICK TYPE torque wrench, you simply turn the torque wrench handle until it reaches the torque mark you are looking for, then start tightening the nuts slowly, as soon as the set torque is reached, you will feel a click around the head of the torque wrench, we will always recommend you to try turning it one more time just to verify. Do not turn it more but barely apply the force one more time just to verify there was a click. There is also the DIAL TYPE torque wrench, it has a little meter on the handle, and you can see the torque getting higher and higher while you applying force, you can stop whenever you reach the desired torque. Some DIAL TORQUE WRENCH comes with a electronic meter on the handle which allows you to read the exact torque. You may also find TORQUE ADAPTERS, it is a little electronic device that goes in between a regular wrench or a breaker bar and the socket, it will act like a torque meter, these are more affordable than the actual torque wrenches which are very handy for home use.
The general rule for steel wheel lug nut torque is usually around 80ft/lb, and for aluminum wheel is around 100ft/lb. It can be used in most cases, but we would still prefer you to research for the exact torque for every particular model before you start working.
At Your Dream Garage Do It Yourself Garage, We always want you to do everything right, therefore we stock more than enough torque wrench for everyone to use when they work on their own cars. We use the click type torque wrench.
Let us go over every step on how to tighten the wheel lug nut properly:
1. Wipe every stud with a rag and air blow the inside of each lug nut to clean them.
2. USE HAND to tighten each lug nut onto the studs.
3. If you have a impact wrench, you may use it to barely snug up each lug nut, STOP ASAP when you hear a couple of clicks.
4. Drop the car on the floor.
5. Set the manufacturer recommended torque on the torque wrench and tighten each nut according to it.
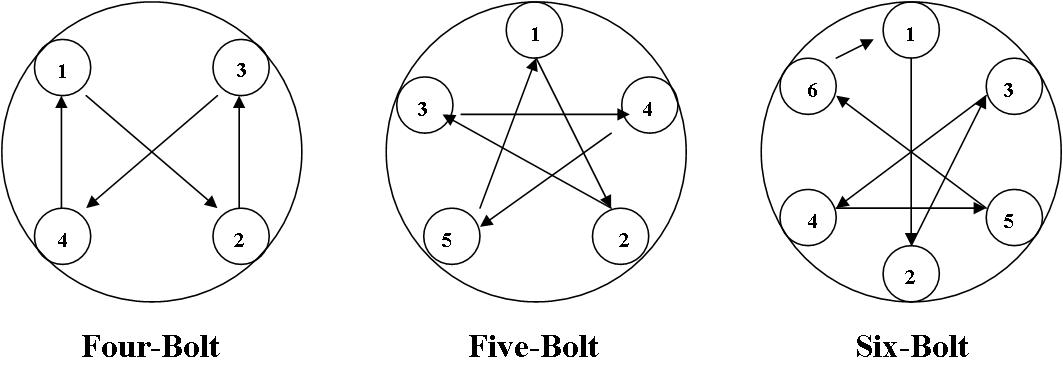
ATTENTION: The right order to tighten the lug nut is NOT clock or counterclockwise. If it is a four stud wheel, you should tighten them in a cross order, which means first tighten the top one, second the bottom one, third the left one, last the right one and so forth. If it has five studs, then you should follow an order of drawing a STAR.
Take care of your car and it will take care of you with less failure and have a longer lifespan.